Optics and Photonics Imaging Products
IMPORTANT: Creation of a customer account is required to complete website purchases. Create a user account here. Existing users can access their account here.
APPLIED IMAGE boasts a wide variety of standard products with an even wider range of applications. Our extensive catalog features specific components and parts in many common variations. Our standard products provide quick and simple solutions that our customers have become accustomed to, all manufactured with the highest quality precision. Our inspection process confirms our feature sizes, edge sharpness, and the cleanliness of the component meet, and often exceed the industry standard. Manufacturing done in-house means competitive pricing and lead times for your order. Our standard product catalog demonstrates our range of capabilities. If you cannot find exactly what you need, contact us, and we can assist you in your selection or custom manufacture a product to your specifications.
Select a Category to Browse Each Product Line:
-
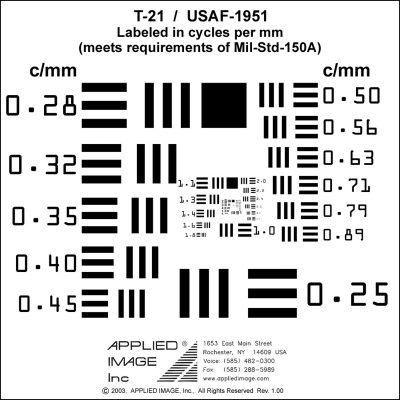
Test Targets and Charts (127)
-
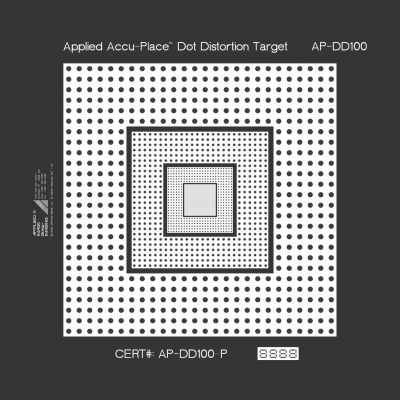
Robotic & Machine Vision Standards (85)
-
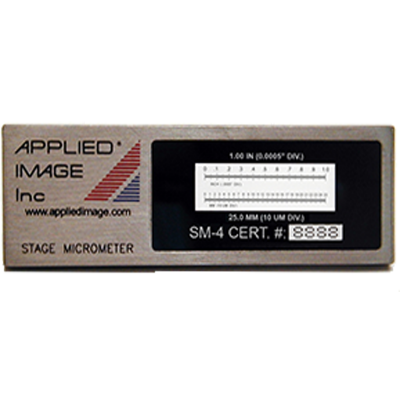
Image Analysis & Stage Micrometers (20)
-
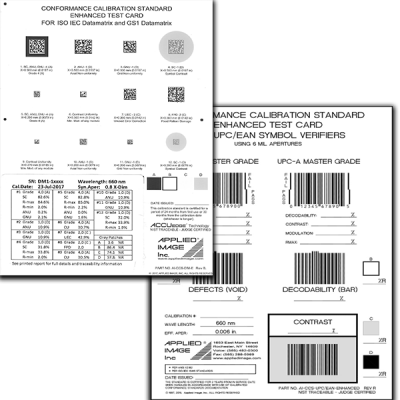
Barcode Conformance Calibration Standards (44)
-
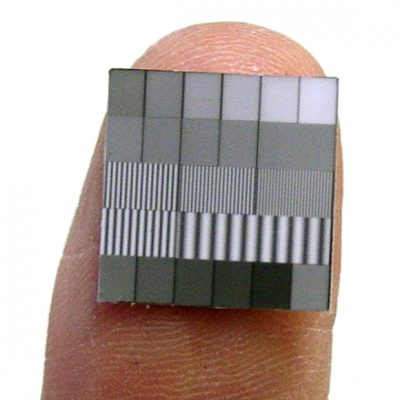
SINE (Sinusoidal) Targets & Arrays (89)
-

Ronchi Gratings (64)
-
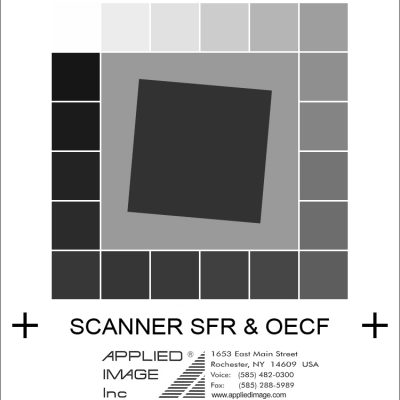
Gray Scales & Step Tablets (13)
-
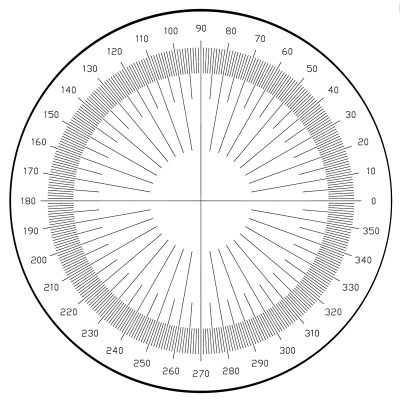
Reticles, Optical Slits, Optical Apertures (115)
-

Imaging Gauge (3)
Measurement and Calibration Frequently Asked Questions
Blank to keep toggle closed
What is Metrology?
The International Bureau of Weights and Measures (BIPM) defines metrology as “the science of measurement, embracing both experimental and theoretical determinations at any level of uncertainty in any field of science and technology.” It is a vast field but can be summarized through three basic activities:
1) the definition of internationally accepted units of measurement (SI Units),
2) the realization of these units of measurement in practice, and
3) the application of unbroken traceability chains, each contributing to the measurement uncertainty.
Industrial metrology is concerned with applying measurement to manufacturing processes and resulting products being produced. In the industrial setting, the user of the instrument must be sure of the suitability of the measurement instrument, its calibration, and the quality control procedures under which they are operated.
Why use an accredited calibration laboratory?
Calibration laboratories are generally responsible for calibrations of industrial instrumentation, the reference standards used to calibrate them, or both. An accredited calibration laboratory is evaluated according to an international standard, such as
ISO/IEC 17025:2017. The accreditation process ensures the laboratory’s competency and provides a traceability link back to a national metrology institute (NMI).
Some examples of NMIs are the National Institute of Standards and Technology (NIST) in the United States, the National Research Council (NRC) in Canada, the Korea Research Institute of Standards and Science
(KRISS).
There is a significant difference between being compliant and being accredited. The term compliant is often used when a company offering goods or services is not accredited to the standard referenced to as compliant. Choose an accredited laboratory over an ISO 17025 compliant laboratory to mitigate risk, increase confidence, and meet quality requirements.
Why do I need to calibrate my measuring instrument?
Calibration is an operation that establishes a relation between a measurement standard with a known measurement uncertainty and the device that is being evaluated. The process will determine the measurement value and uncertainty of the device that is being calibrated and create a traceability link to the measurement standard.
The four primary reasons for calibrations are to provide:
• traceability,
• ensure that the instrument (or standard) is consistent with other measurements,
• determine accuracy, and
• establish reliability.
What is measurement traceability, and why is it important?
We define measurement traceability as the “property of a measurement result whereby the result can be related to a reference through a documented unbroken chain of calibrations, each contributing to the measurement uncertainty.”
Measurement traceability ensures that all testing and calibration results are traceable through NIST or another NMI to the International System of Units (SI). It’s important because it gives you confidence and assurance that your measurement results agree with national or international standards within the statement of uncertainty in measurement. Without traceability, a laboratory can claim anything they want in a test or calibration report. With traceability and the independent verification of an accreditation or inspection body, you can minimize the risk of receiving false information.
The important thing to remember is the results you report to your customers may be used to provide calibrations, perform tests, manufacture products, or make decisions that could affect health, safety, and even legal proceedings.
It is important!
Do I need my own calibration standard?
It’s essential to ensure that any measurements you make, upon which decisions or representations of
product quality are being made, can be reliably related to the appropriate reference value. Calibration standards are the fundamental reference for any measurement system.
There are three levels of standards in the hierarchy of metrology: primary, secondary, and working standards.
Primary standards (the highest quality) do not reference any other standards and are kept in pristine condition. Secondary standards are calibrated to a primary standard. Working or reference standards used to calibrate (or check) measuring instruments or other material measures are calibrated to secondary standards.
To guarantee the integrity of the measurements being made, most metrology systems require measuring instruments to be periodically calibrated against an appropriate reference standard. The frequency of these checks can vary dramatically, depending on the measurement instrument’s frequency of use and stability. Even if you send an instrument out for periodic calibration, it may be desirable to have a reference standard on-hand to validate daily results.
It’s also important to periodically check the condition of the working standard itself, and many quality systems will require these also to be recertified on some periodic basis. Often a one- or two-year interval is applied, depending on the stability of the standard and the level of risk associated with the measurements being made.
Why should I care about uncertainty?
Measurement uncertainty, as used here, means the range of possible values within which the true value of the measurement lies. The GUM defines measurement uncertainty as a “parameter, associated with the result of a measurement, that characterizes the dispersion of the values that could reasonably be attributed to the measurand”. (GUM – Evaluation of measurement data — Guide to the expression of uncertainty in measurement)
A traceable measurement system accounts for all the components of uncertainty in a measurement system and is reported as part of a calibration report. It’s important to understand how large the measurement uncertainty is in relation to the tolerance limits set on the measurement itself. For example, if you’re interested in a measurement that has an aim value of, say, 10 mm, with a tolerance of ±2 mm, you really want to make sure your measuring instrument has an uncertainty no greater than 10-25% of the overall tolerance range of the measurement of interest, in this case, no more than 0.5 mm.
How can Applied Image support your calibration standards requirements?
If you have specific areas of interest, Contact us to review your custom drawings or get a quote for a Standard Catalog Product.
